REAR PACKAGE TRIM REMOVAL/INSTALLATION
2016 – MX-5 – Body and Accessories
REAR PACKAGE TRIM REMOVAL/INSTALLATION
1. Disconnect the negative battery cable. (See NEGATIVE BATTERY CABLE DISCONNECTION/CONNECTION.)
2. Remove the following parts:
a. Selector lever knob (AT) (See AUTOMATIC TRANSMISSION SHIFT MECHANISM REMOVAL/INSTALLATION.)
b. Shift lever knob (MT)
c. Shift panel component (See SHIFT PANEL REMOVAL/INSTALLATION.)
d. Upper panel (See UPPER PANEL REMOVAL/INSTALLATION.)
e. Parking brake lever boot panel (See PARKING BRAKE LEVER BOOT PANEL REMOVAL/INSTALLATION.)
f. Rear console (See REAR CONSOLE REMOVAL/INSTALLATION.)
g. Scuff plate (See SCUFF PLATE REMOVAL/INSTALLATION.)
h. Tire house trim (See TIRE HOUSE TRIM REMOVAL/INSTALLATION.)
i. Front seat back bar garnish (See SEAT BACK BAR GARNISH REMOVAL/INSTALLATION.)
j. Quarter trim (See QUARTER TRIM REMOVAL/INSTALLATION.)
k. Wind blocker (See WIND BLOCKER REMOVAL/INSTALLATION.)
l. Back trim (See BACK TRIM REMOVAL/INSTALLATION.)
m. CD player (See CD PLAYER REMOVAL/INSTALLATION.)
3. Close the convertible top.
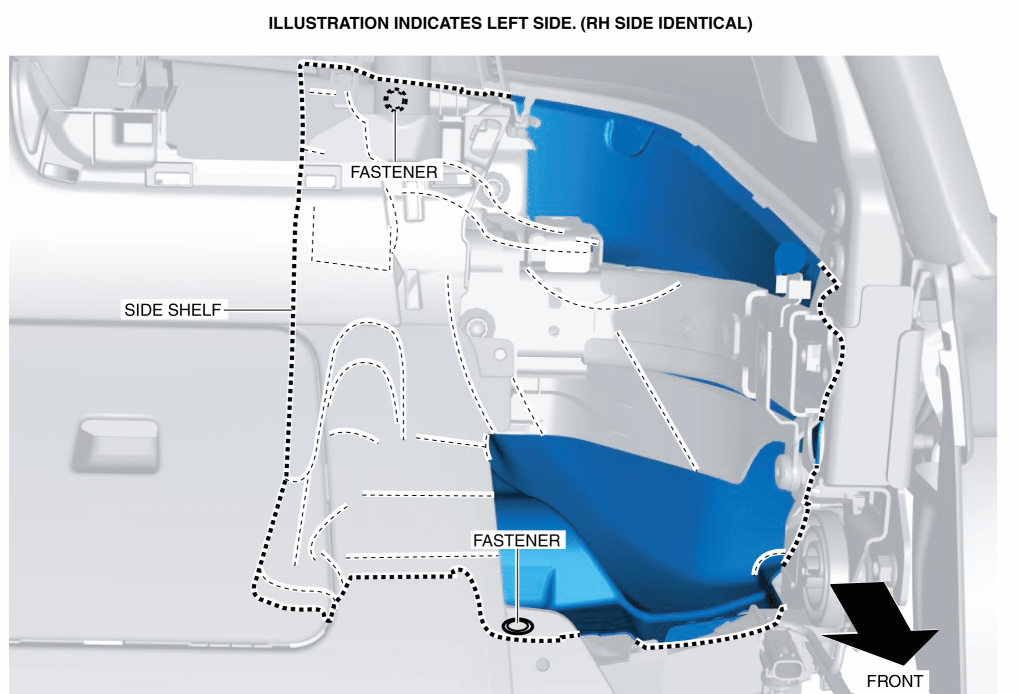
4. Remove the fasteners.
5. Remove the fasteners.
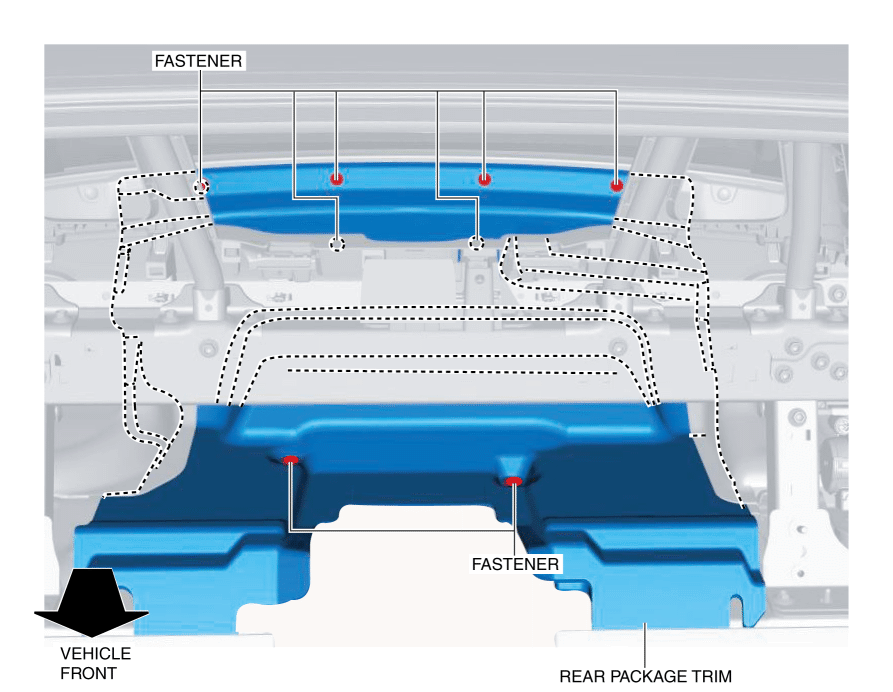
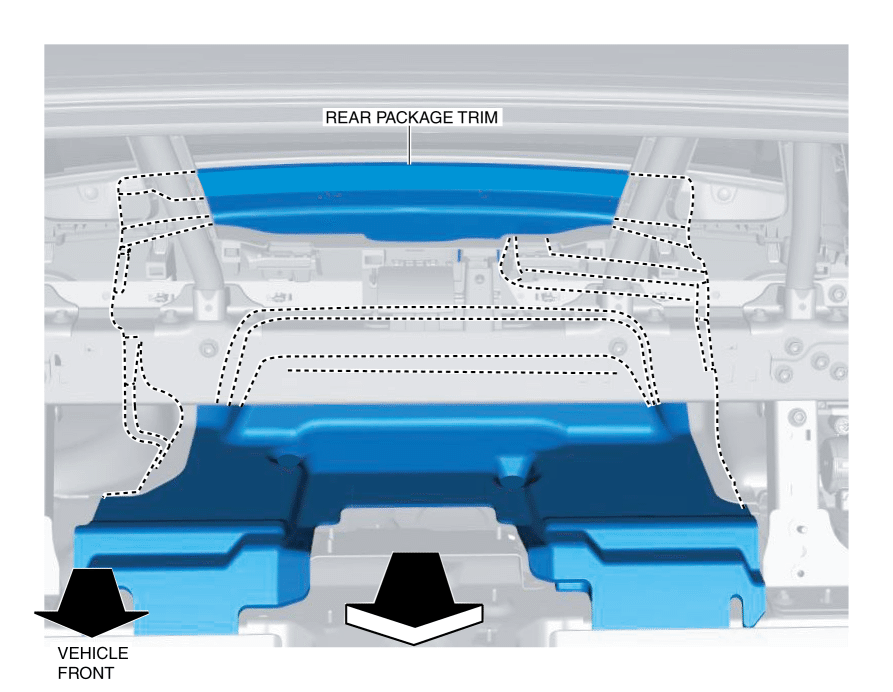
6. While partially pulling back the side shelf, remove the rear package trim in the direction of the arrow shown in the figure.
7. Install in the reverse order of removal.