CONVERTIBLE TOP DISASSEMBLY/ASSEMBLY
2016 – MX-5 – Body and Accessories
CONVERTIBLE TOP DISASSEMBLY/ASSEMBLY
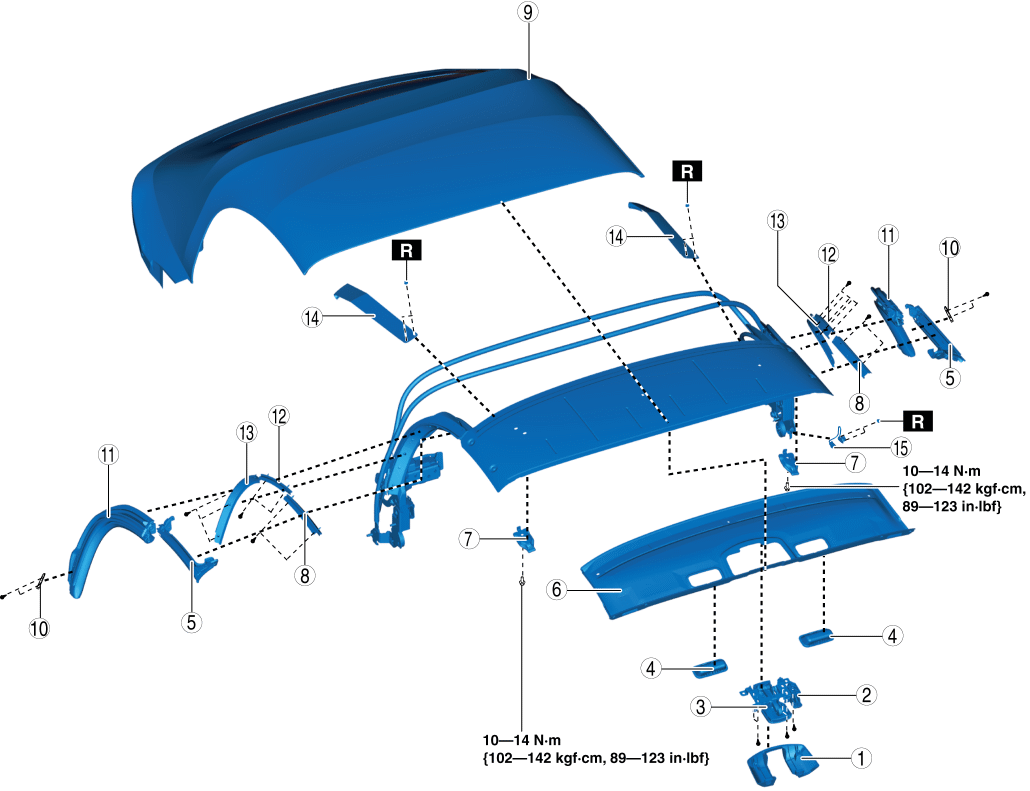
1. Disassemble in the order indicated in the table.
|
1 |
Top lock cover |
|
2 |
Top lock center |
|
3 |
Top lock |
|
4 |
Top handle |
|
5 |
Link weatherstrip No.1 |
|
6 |
Header cover |
|
7 |
Male wedge |
|
8 |
Retainer no.1 (See Retainer Removal Note.) (See Retainer Installation Note.) |
|
9 |
Top fabric (See Top Fabric Removal Note.) |
|
10 |
Slider |
|
11 |
Link weatherstrip No.2 |
|
12 |
Retainer No.2 (See Retainer Removal Note.) (See Retainer Installation Note.) |
|
13 |
Retainer No.3 (See Retainer Removal Note.) (See Retainer Installation Note.) |
|
14 |
Tension band |
2. Assemble in the reverse order of disassembly.
Retainer Removal Note
1. Mark around the retainer installation screws with paint before removing them.
Top Fabric Removal Note
1. When removing the top fabric, perform the following procedure.
a. Remove the screws.

b. Remove the top fabric from the header panel.

c. Unhook the tension spring from the links.
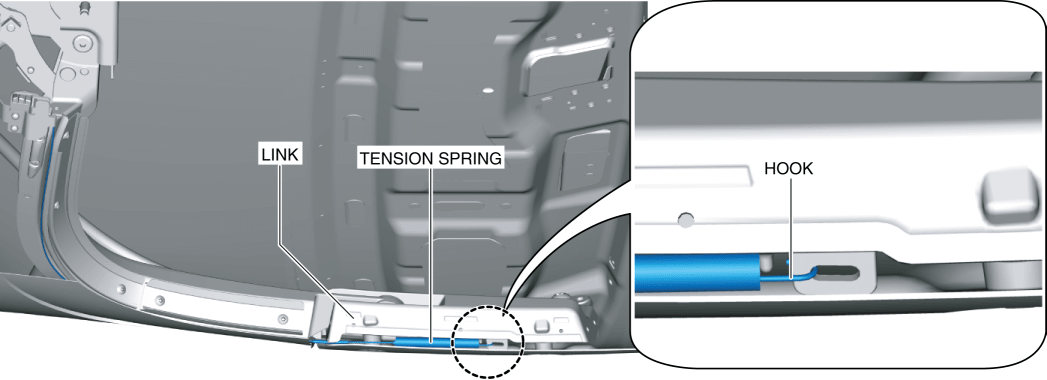
d. Pull the tension springs out from the links.
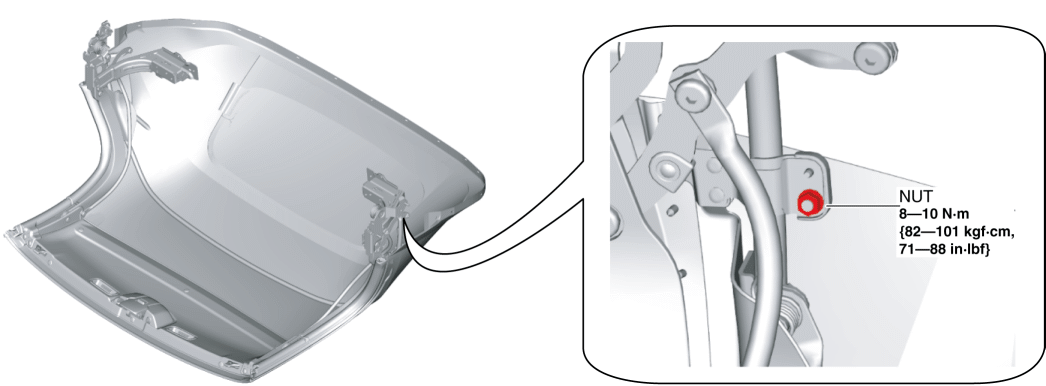
e. Remove the nuts.
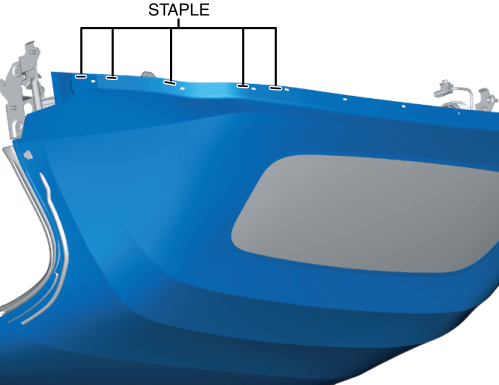
f. Remove the staples.(with inner fabric)
NOTE:
-
When assembling the top fabric to the links, the outer fabric and inner fabric do not need to be stapled together.
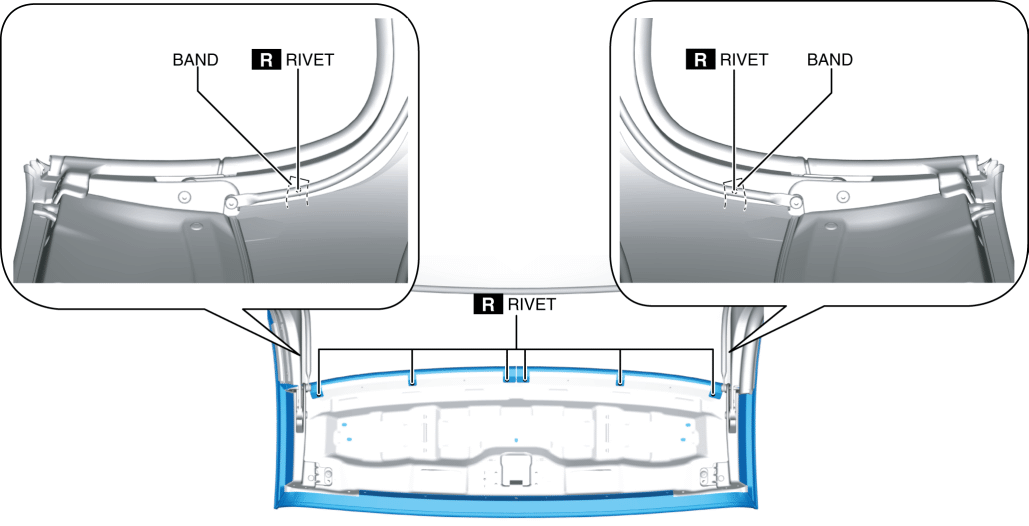
g. Remove the rivet using a drill.
h. Remove the top fabric.
Retainer Installation Note
1. Install the retainers to the link, aligning the retainer marks with the retainer installation screws.