POWER PLANT FRAME REMOVAL [M66M-D]
2016 – MX-5 – Transmission/Transaxle
POWER PLANT FRAME REMOVAL [M66M-D]
CAUTION:
-
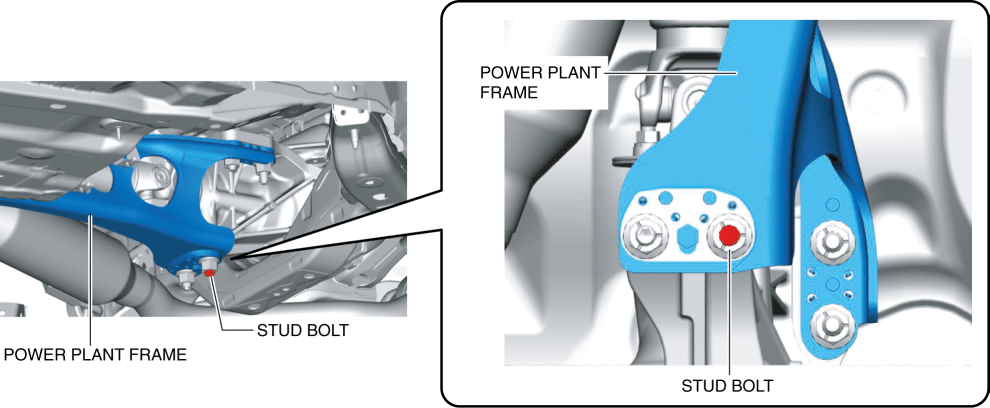
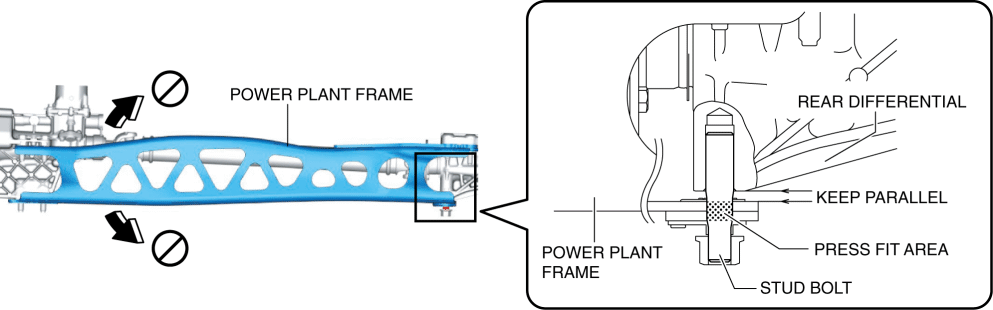
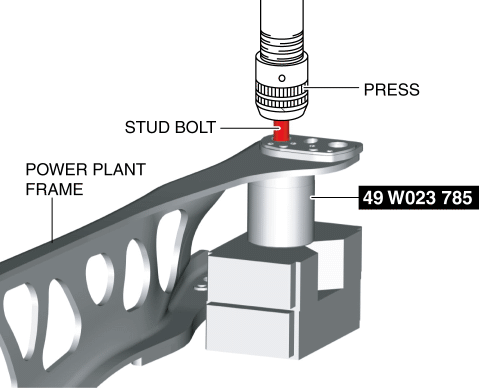
The stud bolt shown in the figure is pressed into the power plant frame. Read the cautions carefully so as not to damage the parts while servicing.
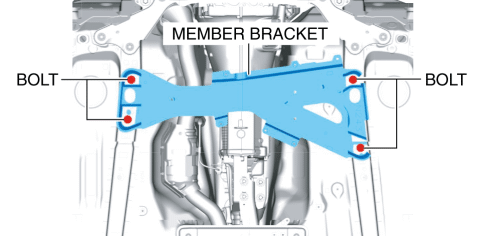
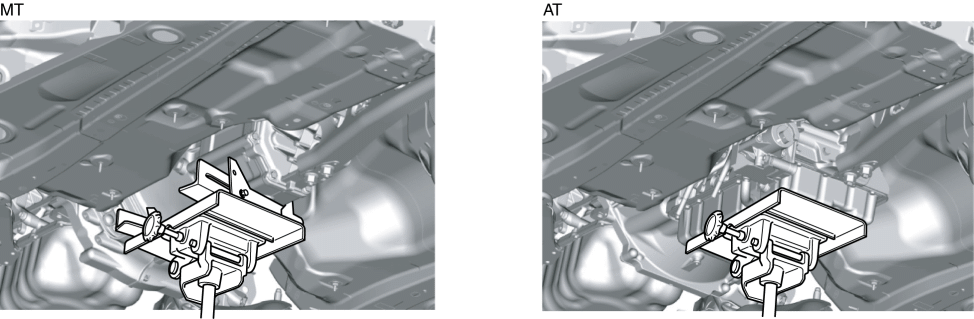
1. Remove the member bracket. (With member bracket)
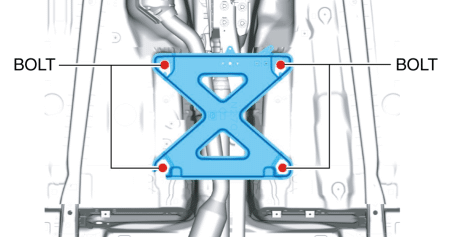
2. Remove the tunnel member.
3. Support the transmission using a transmission jack with rubber sheet inserted between the transmission and jack.
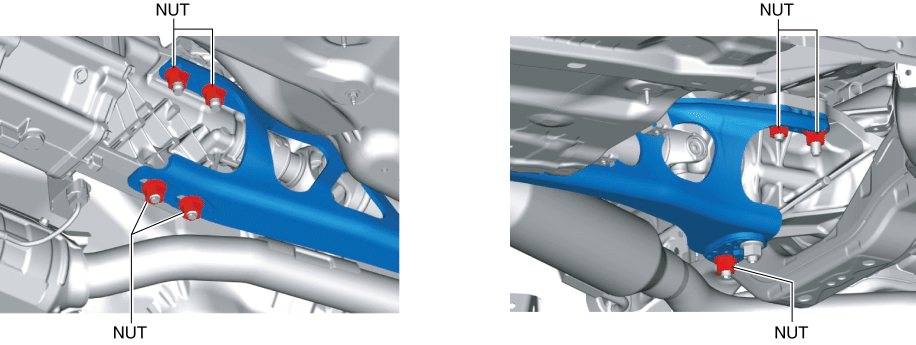
4. Stuff rubber or a rag between the rear differential and rear crossmember to prevent the rear differential from tilting.

5. While supporting the power plant frame so that it does not lower, remove the nuts (7 locations) shown in the figure. (Do not remove the nut in the position of the pressed-in stud bolt.)
6. Loosen the nut shown in the figure to the end of the stud bolt.
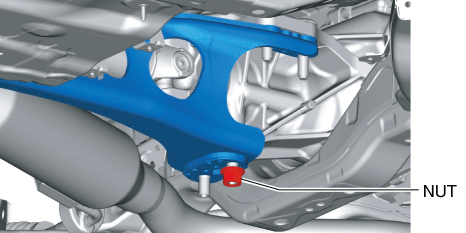
7. While keeping the installation surfaces of the rear differential and power plant frame parallel, loosen the stud bolt shown in Step 7 and remove it with the power plant frame.
CAUTION:
-
If the power plant frame tilts from the rear differential, the threaded hole of the rear differential may be damaged. When removing the power plant frame, loosen the stud bolt while keeping the installation surfaces of the rear differential and power plant frame parallel.
NOTE:
-
The stud bolt is pressed in the power plant frame, therefore, it requires greater torque than a general bolt when loosening.
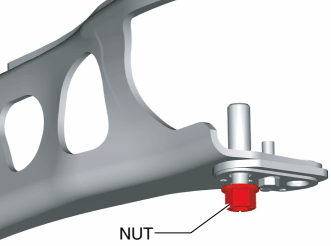
8. Remove the nut.
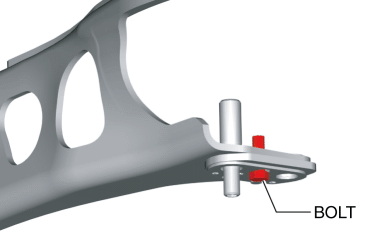
9. Remove the bolt.
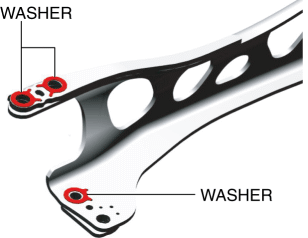
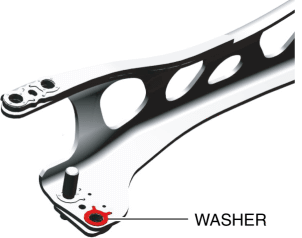
10. Remove the washer shown in the figure using a punch from the backside.
11. Remove the stud bolt from the power plant frame using a press and the SST (49 W023 785).
CAUTION:
-
Be careful not to pinch the washers between the SST (49 W023 785) and power plant frame.
12. Remove the washers shown in the figure using a punch from the backside.